


In design, photography, and other visual communication mediums, the white background is an essential and adaptable component. It is a popular option for many different purposes, such as site design and product photography, because of its neutrality and simplicity. This article will examine the historical development, practical uses, and relevance of the white background in a variety of fields.
Why White Backgrounds Are Important in Modern Design?
Because of its intrinsic qualities, the white background has a special meaning in modern design and photography.
White is the color that personifies neutrality and simplicity. It lets the primary subject take center stage without imposing any visual distractions. It is the perfect option for e-commerce websites because of this feature, which allows products to be displayed without interruption.
Timelessness: White backgrounds are timeless, going beyond fashion fads and trends. Their timeless appeal stems from their clean, classic look.
Versatility: There are a lot of uses for white backdrops. They can be utilized for a variety of purposes, including presentations and social media posts as well as print and commercial media. White backgrounds are versatile and may be used for a variety of tasks, such as product photography, minimalist poster creation, and website design.
A Guide for Adding White Background
Making a white background in Photoshop is easy, even though it could take some time to learn. Nine easy phases comprised our process plan. Adding a white backdrop in Photoshop is easy compared to taking it out, which might be a little tricky. The steps to make a white Photoshop background are as follows.
1. Get the Image Open
- Opening the image in Photoshop is the first step towards making the background white. The steps to accomplish so are as follows:
- Choose “Open” from the top menu after clicking “File.”
- Click on the picture file. You will be able to make any necessary edits to your image once it appears on the screen.
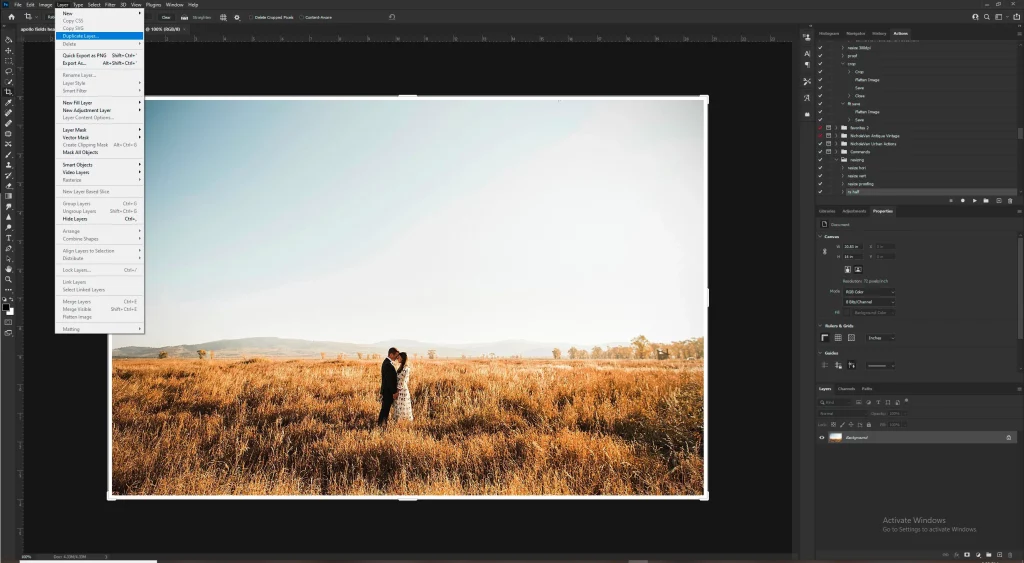
2. Replacement of The Layer
- Duplicating the layer is the next step. In Photoshop, what are layers? Photoshop layers are similar to layered sheets of acetate, according to Adobe. Transparent portions of a layer allow visibility into the layers below. To reposition content on a layer, you move it, just like you would a sheet of acetate in a stack. To partially translucent content, you can also adjust a layer’s opacity.
- Use these actions to replicate the layer:
- Get the “Layers” window open.
- According to your present naming scheme, rename the layer. For each photographer, this will be different. It’s critical to maintain uniformity and order in your naming practices.
Also Read: https://thegamedial.com/freeform-app/
3. Insert and Create a White Background Into Print
- Having created a new layer, the next step in learning how to add a white backdrop in Photoshop is to make a picture with a white background by following these procedures. Take your time when completing these steps if necessary initially to get accurate results.
- Hover your cursor over “Adjustments” and choose “Levels” after clicking “Image” in the top menu. To access the “Levels” option, do this.
- To make the image completely white, move the sliders in the “Levels” option. To soften the midtones and achieve a “pure white” appearance, move the gray and white sliders to the left.
- To improve the appearance of the edges, you can add subtle shadows as you move the sliders. To fit your own photographic style, adjust the shadows as necessary. Your wedding guests will be looking for pictures that reflect the aesthetic they like seeing on your blog, website, and social media accounts.
4. Include a “Layer Mask”
Use the sliders to make the first layer pure white, and then add a “Layer Mask” to it. Choose the top layer. By doing so, you will be able to paint over some of the duplicate picture layers and expose the layer underneath.
5. Use a “Hard Round” Brush
- The next step is to choose the “Hard Round” brush by following these instructions after creating a “Layer Mask” for the first layer:
- To use the “Brush Tool,” click on it in the tools panel. Another option is to hit the keypad “B.”
- Make sure to choose the “Hard Round” brush style and adjust its “Opacity” to 100%.
- You can apply the white backdrop to larger regions with the “Hard Round” brush.
6. Edit the Rubber’s Color
- Once the “Hard Round” brush has been selected, follow these steps to modify its color:
- To access the “Layer Mask,” click within the white square that sits immediately next to the first layer.
- Select “Black” as the brush color.
7. Finish the Groundwork
- Apply paint over the background using the selected brush style and color. To accomplish this, take these actions:
- Makeover the area surrounding your clients with paint. Precision is needed for this phase. You’ll notice that the region gets lighter as you paint, while everything else stays dark.
- Release it, then click it again to increase the amount of “Black” on the “Layer Mask.” You will be able to add darkness and brightness where it is needed because of this.
- On your keyboard, press “X” to change from “Black” to “White” (and vice versa). This helps in the event that you make a mistake and have to cover the area with paint at any stage of the procedure. Save your work if you’re satisfied with the brush. As a result, your image should have a background that is “pure white.”
- Below is a brief tutorial on adding a white background in Photoshop. You can verify if your background is truly white by using this method. You will want to confirm that your efforts yielded precise outcomes, after all. Here’s how to do it:
- Click “Threshold.”
- Move the slider for the histogram to the right (found in the Properties tab). This will enable you to observe whether the background remains a solid white.
- You’ll know it’s not pure white if the background becomes black.
- Another choice is to check to see if the histogram shows any spikes. The right edge is where you’ll find this spike. Your image’s background is not pure white if it is not rigid against the right edge.
8. Maintain Your Photo’s Edges Perfectly
While it may not be necessary for every shot, if you follow the preceding instructions, be ready to sharpen the edges of your image. You can accomplish this by fully enlarging your photo (to 100%). Make sure to select black as the color for your new “Layer Mask.” Adjust the opacity to 50% instead of applying a harsh edge as the preceding stages recommend. You will be able to paint over any areas that you missed without getting fresh, harsh edges thanks to the softer brush edge.
Also Read: https://thegamedial.com/my-google-activity/
9. Preserve and Retain the Photo
Informational graphic suggesting that you save the edited photos in Photoshop and then export them to your preferred image hosting or storing service.
As with every step in your post-wedding workflow, remember to save your edited photo after making any necessary adjustments. This includes exporting it to your preferred image-hosting/storing service after saving it in Photoshop according to your naming rules. To ensure that your workflow remains structured and that you can locate your image with ease when you need it again, this is a crucial step to do.
If you know how to use Photoshop’s white background feature, you can make the pictures you want and show them to your wedding clients. Even while some steps in this process can be laborious, they will get easier with repetition. Even after professional color correction, Photoshop can assist you in making some of the adjustments you want for your wedding images.