


For many different kinds of publications, including reports, commercial documents, and academic papers, double spacing is a standard formatting requirement.
One popular word processing program that makes adjusting the spacing in your pages simple is Microsoft Word. We’ll walk you through how to double-space in Word in this tutorial.
Why Use Double Spacing?
Let’s first examine the reasons double spacing is frequently recommended before getting into the specifics of how to implement it in Word:
- Readability: By leaving enough space between lines, double spacing makes your writing easier to read. This is crucial for academic papers because space is needed for readers’ and lecturers’ comments and revisions.
- Accessibility: People with vision impairments may find it easier to read your paper if you double-space.
- Aesthetics: Double spacing may be necessary in some situations in order to follow particular style recommendations or to look more professional.
Step-by-Step Guide to Double Spacing in Word
In Microsoft Word, you can double-space your document by following these steps:
Step 1: Open Your Document
Open the document you wish to double-space in Microsoft Word. When beginning a new document, start with the content and add double spacing afterward.
Step 2: Choose the Text
To double-space a text, pick it with your cursor and drag it. To double-space the entire document, select all and hit Ctrl + A (or Cmd + A on Mac).
Step 3: Access the Line Spacing Options
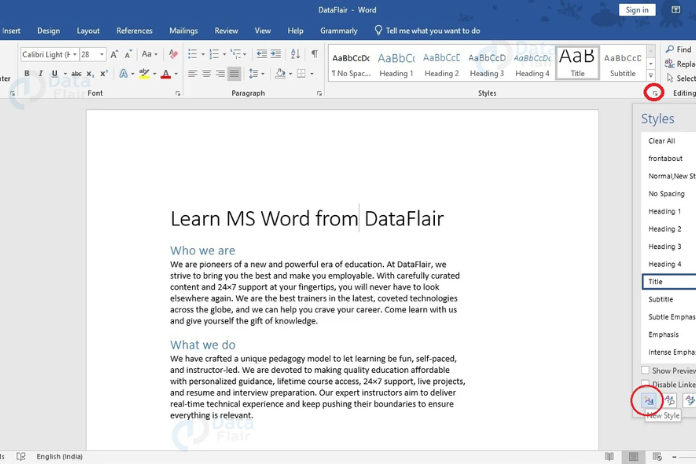
- Navigate to the “Home” tab on the Word ribbon to access the different formatting options.
- Find the “Paragraph” group, where you can adjust line spacing, text alignment, and other settings.
- Next to horizontal lines, look for the indicator with two arrows pointing up and down. The “Line and Paragraph Spacing” button is this one.
Step 4: Choose Double Spacing
A dropdown menu containing different line spacing settings will open when you click on the “Line and Paragraph Spacing” button. Options like “Single,” “1.5 Lines,” “Double,” and others are available.
Step 5: Apply Double Spacing
From the drop-down menu, choose “Double”. The text you have chosen will now be double-spaced.
Step 6: Review Your Document
After you’ve added double space, look over your work for a little. Make sure the lines are spaced appropriately and that it appears the way you planned.
Step 7: Save Your Document
In order to maintain your double-spacing settings, don’t forget to save your document.
Also Read: How to Print from iPhone? 4 Easy Methods for iPhone Printing in 2023!
Additional Tips
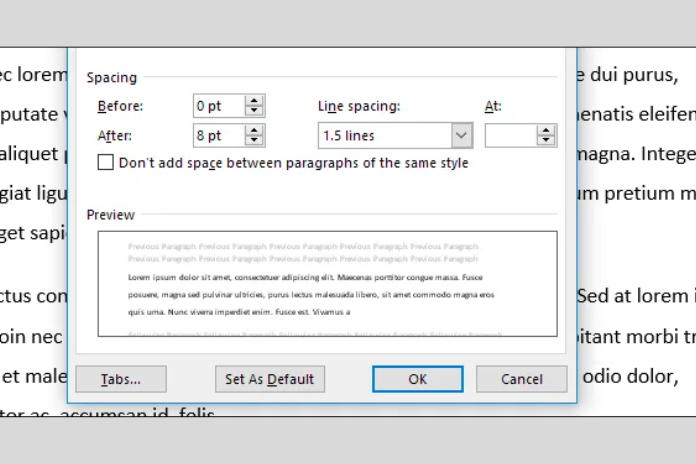
- Customize Line Spacing: If you have specific requirements, you can choose the “Line Spacing Options” at the bottom of the dropdown menu. This will allow you to customize the line spacing further, adjusting the spacing before and after paragraphs.
- Keyboard Shortcut: Use the keyboard shortcut Ctrl + 2 (or Cmd + 2 on Mac) to swiftly double-space a selected chunk of text.
- Using Double Spacing Across the Entire Document: You don’t have to pick every word in the document in order to apply double spacing. Simply click anywhere in the text, select everything with Ctrl + A (or Cmd + A on a Mac), and then carry out the remaining instructions.
- Verifying Line Spacing: To make sure you’ve double-spaced your document correctly, select “Print Layout” under the “View” tab to view the document’s print layout.
Also Read: Top 6 Best Youtube Video Converter in 2023!
Conclusion
In Microsoft Word, double spacing is a basic yet crucial formatting function. Whether you’re a professional writing a business document or a student working on an academic paper, understanding how to double-space your text helps enhance readability and adhere to particular style requirements.
Your Word documents will look more polished and professional if you follow this article’s step-by-step instructions to get the desired line spacing.