


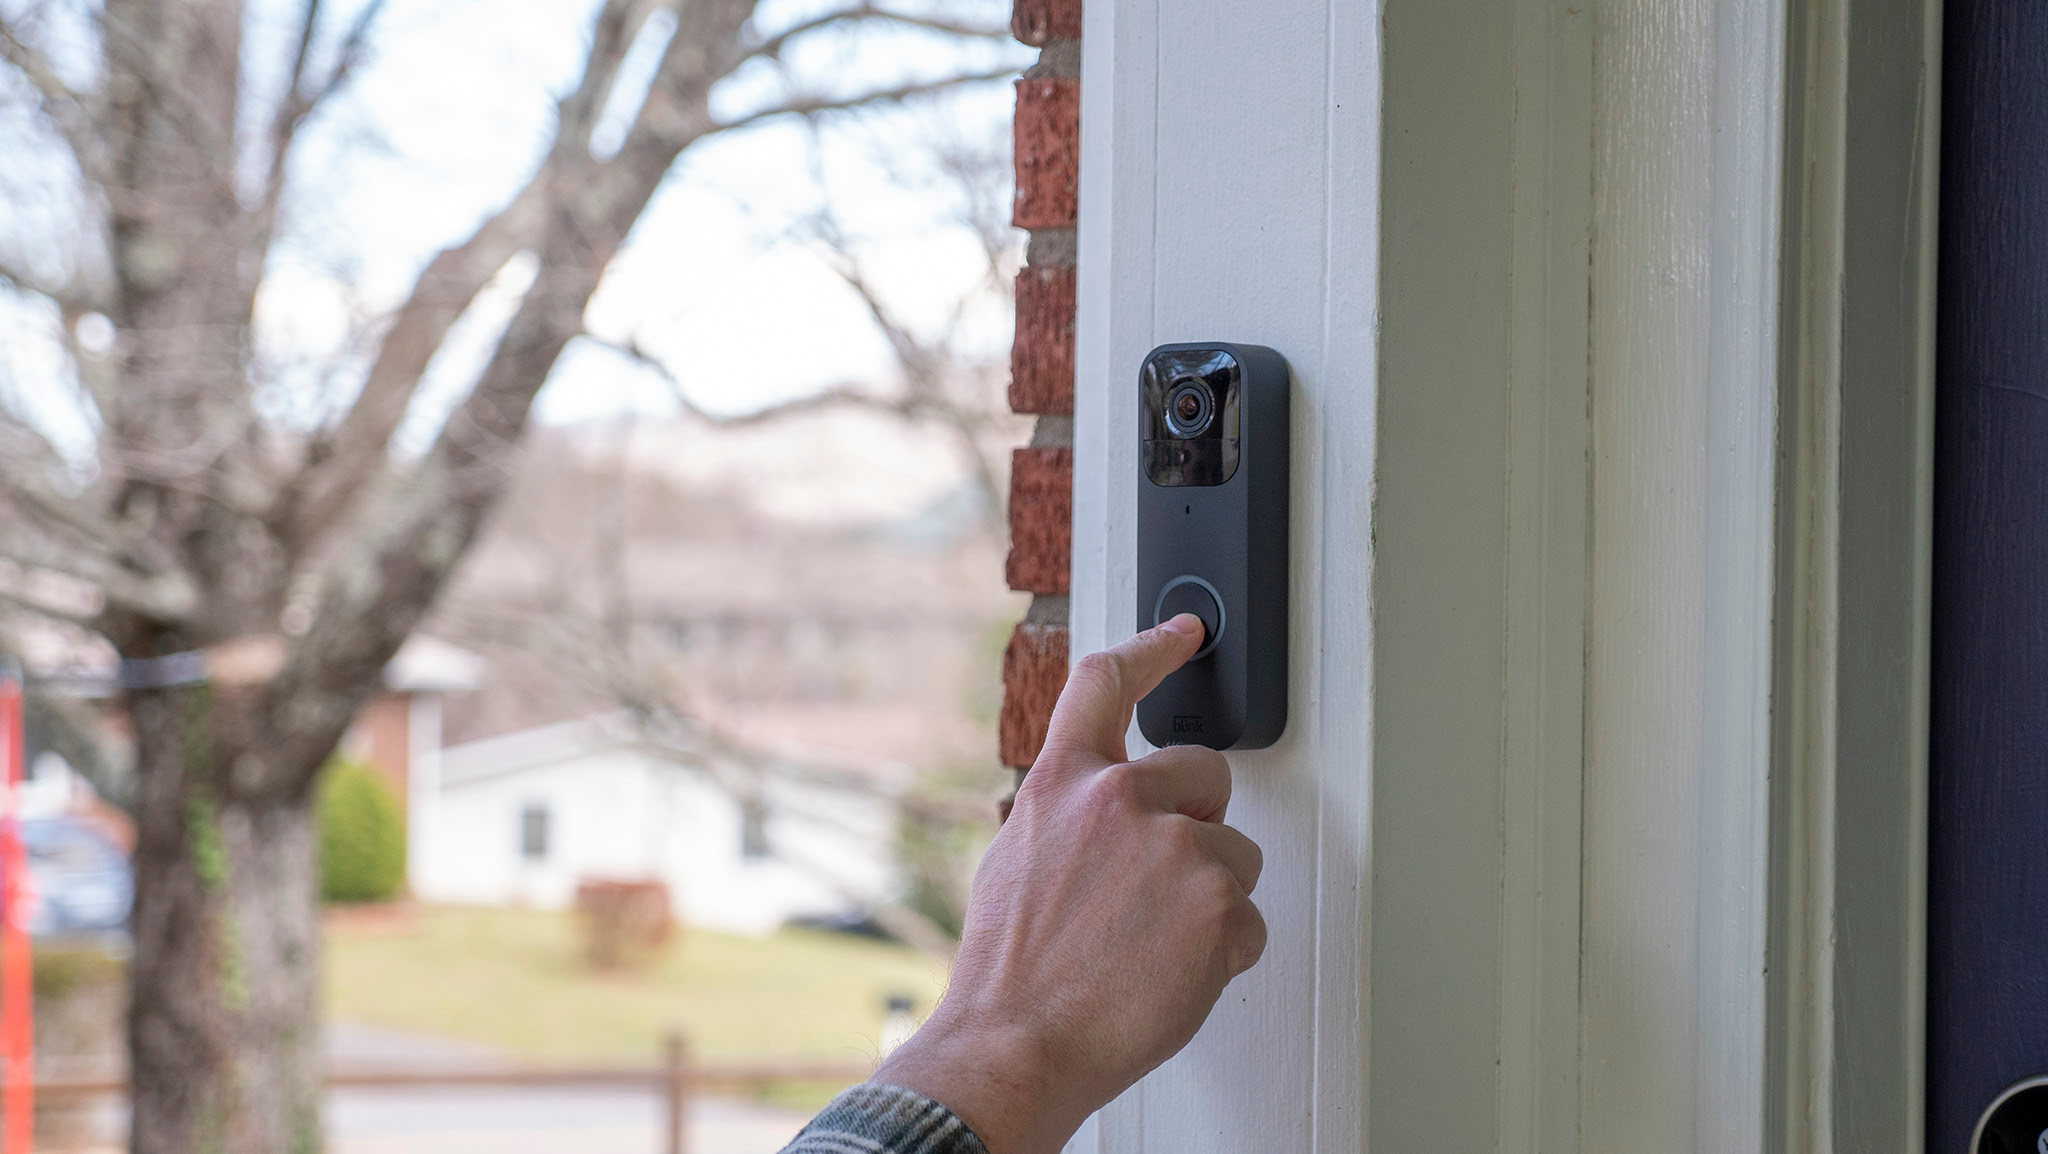
One of the first lines of defense for smart home security is the video doorbell. Additionally, it’s a terrific method to find out who or what is at your door without having to get up and walk to it. Blink is a great choice for those who are new to the video doorbell industry since it provides its smart video doorbell for a far cheaper cost than some of its major rivals.
In case you were unaware, Amazon is the parent company of both Ring and Blink. In order to compare the two brands, it is easy to say that Blink is the more basic smart camera while Ring is the more ostentatious model.
Before we get started, Blink provides its Sync Module, which lets you watch almost simultaneously from several cameras and save videos locally without the need for a subscription. The module is required for some Blink devices. For instance, a Sync Module is not required in order to use the Doorbell, but it is recommended if you have multiple Blink cameras.
How to Set up A Blink Video Doorbell
Please grab your phone if you recently purchased or got a Blink Video Doorbell, and we will walk you through the setup process.
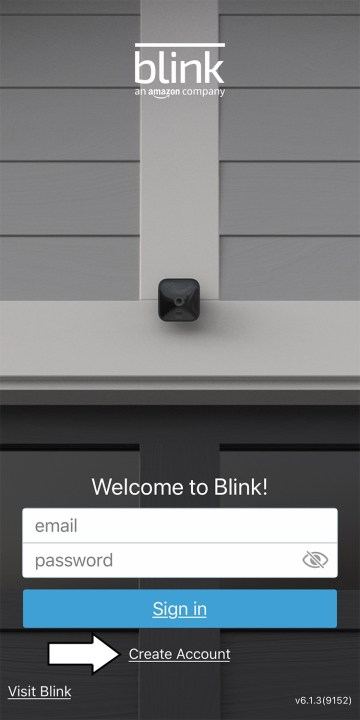
Step 1: Download the Blink app from your phone’s app store. Go ahead and establish a Blink account if you want to be even more proactive—this is a must if you ever want to connect your system to Alexa.
It is quite simple to create a Blink account. Here is how to do it:
In addition to requesting your email address and country of residence, the app will also require you to set a password.
You will need to provide both your phone number and the verification code you will get after enabling two-factor authentication, which is enabled by default.
Fill out the form to connect your new Blink account to your Amazon account.
Step 2: You may now begin to add devices. In the upper-right corner, tap the Plus button. A selection of available devices will display; pick the Blink Video Doorbell.
Step 3: Scan the doorbell’s QR code located on its back.
Underneath the rear plate containing the battery slots is the QR code. To enable the camera to correctly detect the code, make sure you’re in a well-lit environment.
Read More: Top 10 iPad Keyboard Cases for Professionals!
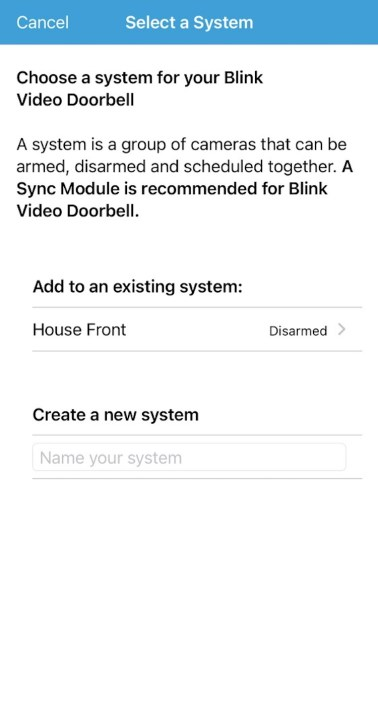
Step 4: Select or design your framework.
You can decide to integrate the Doorbell with your current home system if you already have a Blink camera or system set up. However, you’ll have to set up a new home system if this is the first time you’ve installed a Blink device. All of the Blink security devices that are part of a system are simply referred to by their combined alarm statuses. If you’d like, you may call your system “Home” as an example.
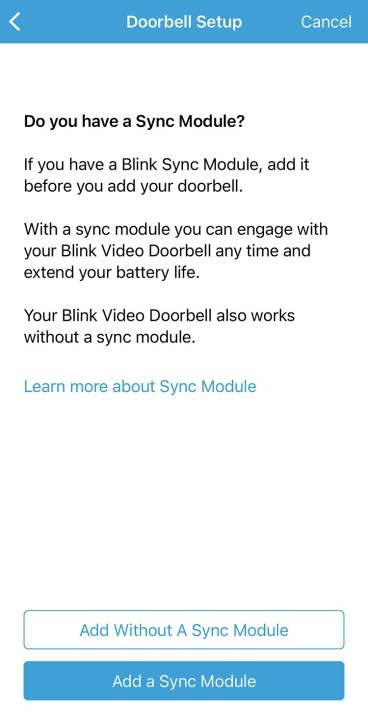
Step 5: Select if you want to include your Sync Module.
This is the time to add a Sync Module if you have one (you can always add it later). The Sync Module is required if you intend to use the Blink system with several cameras.
The app will launch the QR code scanner if you add the Sync Module at this time. Observe the device’s setup procedure. After that, you’ll be sent back to the app’s main screen, where you may carry on with the setup.
Step 6: Place the provided batteries in the doorbell’s rear, where the QR code is located. When the batteries are installed, the doorbell will activate and begin to glow red.
Step 7: A pop-up window asking whether you like to join the Wi-Fi network “Blink XXXX” will appear on most phones. Go to your phone’s settings and connect to that particular network if there isn’t a pop-up on your screen. Return to the Blink app after joining.
Step 8: Using the app, link the doorbell to the Wi-Fi network in your house. By taking this step, you can make sure that your router is close enough to your doorbell to offer a steady connection and that it is always connected.
Read More: List of Stellaris Technology with Cheat IDs
Step 9: Install the doorbell.
Once everything is set up, there are several options to install the doorbell. First, though, make sure the app is positioned at the best possible angle near your entrance and that it can view all of the important spots surrounding the front of your house. There are two ways to attach the doorbell: wired and wireless.
The Blink replaces your current doorbell and uses electricity from your house if you choose to use wires. On the other hand, the Video Doorbell chime is used by the wireless option. In any case, the supplied batteries will continue to be the source of power for the Video Doorbell.
Mount the Blink Doorbell and any additional extra mounts or wedges using the included backplates. To finish the mounting procedures, you’ll probably need a power drill, depending on the siding on your house. The app will ask you how you want to attach the doorbell when you’re connected to Wi-Fi and then provide you with instructions.
How to Set up Blink Doorbell with Alexa
Any additional Blink cameras that are placed in your house in the future are immediately found and added to your Alexa home after you link the Blink Doorbell to Alexa.
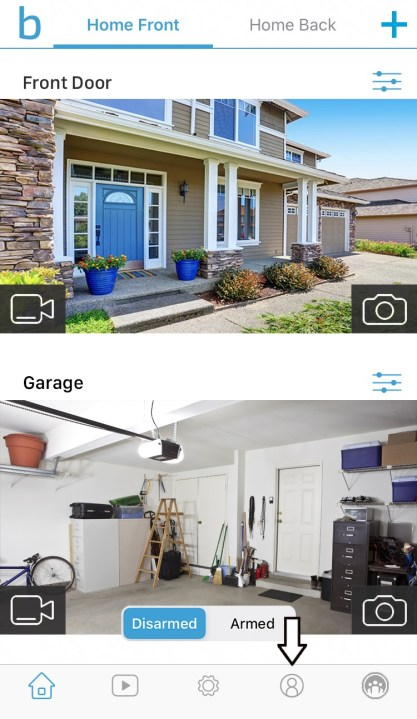
Step 1: Launch the Blink app and press the bottom-of-the-screen Account button.
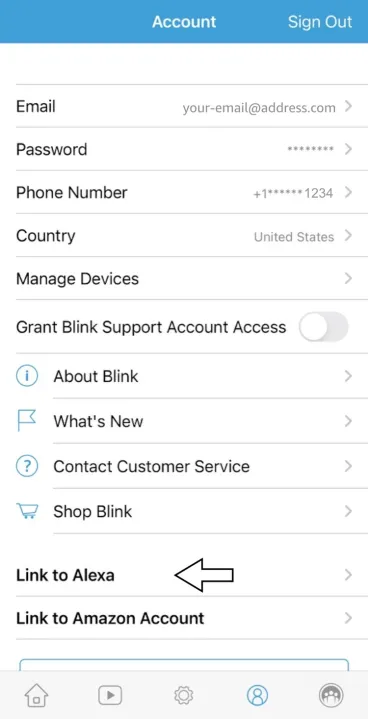
Step 2: Select “Link with Alexa” by tapping on it.
Step 3: The application will instruct you to install the Blink skill on your Alexa device after downloading it.
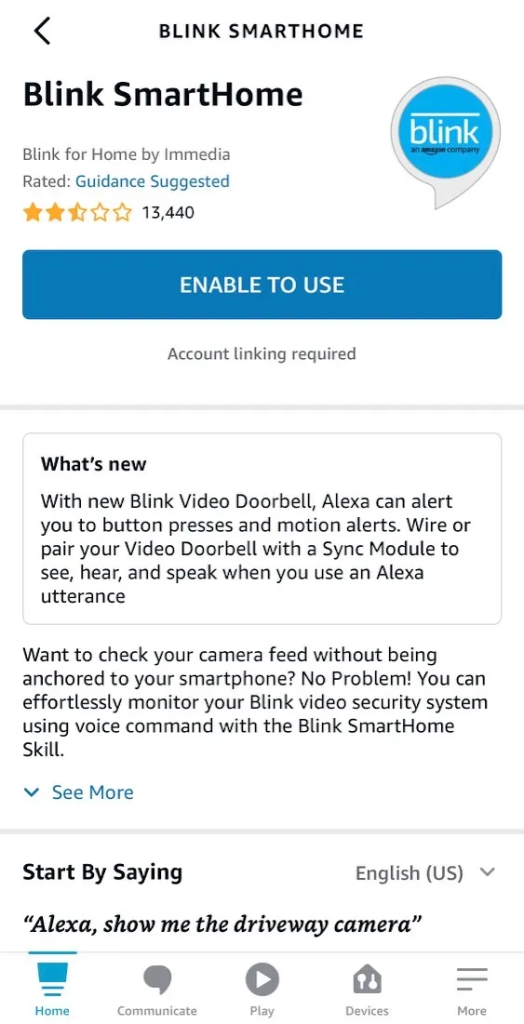
Step 4: After downloading the skill via the Amazon gateway, you’ll be prompted to enter your email address and password to access your Blink account.
Read More: The Ultimate Convenience: Exploring the World of Wallet Phone Cases
The verification code that appears as soon as you sign in must be entered.
Step 5: Your accounts are now connected, enabling communication between your Blink and Echo devices. By connecting your accounts, Echo Show devices may now show the stream from any Blink cameras.