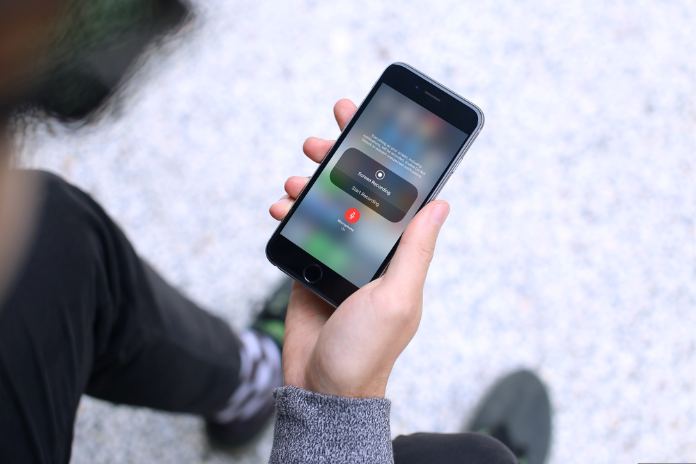
Using your iPhone, you may capture the screen in a quick and easy way. This is the way you do things.
Screenshotting is so last century. The iPhone’s screen recording capability allows you to record gameplay sequences with a few clicks, store your favorite YouTube videos, and even create tutorials for your friends.
You’ll become an expert screen recorder on your iPhone in no time by following these simple instructions.
Once you’re up to speed, be sure you also understand additional methods for your iPhone, such as how to reactivate your disabled iPhone and recover deleted images.
How to Activate the Screen Recording Feature on Your iPhone?
Screen recording is an integrated feature of all iPhone models running iOS 11 or later. However, make sure the screen record button is in the Control Center before learning how to record the screen on an iPhone; if not, make sure to add it. It will be simpler and quicker to begin recording if you do this.
- If you have an iPhone X or later, swipe down from the top-right corner to access the Control Center menu; if you have an iPhone 8 or older, swipe up.
- Seek out the screen record button, which resembles a circle encircling a dot. You can move on to the following section if you see it.
- Select Settings > Control Center > Customize Controls if you are unable to view it.
- The Screen Recording option may be found by swiping down to the More Controls menu.
- To the left of the text, tap the green “+” icon. The functionality will navigate to the menu above using Included Controls.
- By coming back to this screen and tapping the red “-” symbol, you can remove the screen record button from your Control Center at any time.
- In case you missed it, there are other hidden features on Apple that experts are aware of but you are not.
Also Read: What is Reddit NSFW and how To Enable It on Android and the Web?
How to Record the Screen on An iPhone?

Screen recording is an integrated feature of all iPhone models running iOS 11 or later.
However, make sure the screen record button is in the Control Center before learning how to record the screen on an iPhone; if not, make sure to add it. It will be simpler and quicker to begin recording if you do this.
- If you have an iPhone X or later, swipe down from the top-right corner to access the Control Center menu; if you have an iPhone 8 or older, swipe up.
- Seek out the screen record button, which resembles a circle encircling a dot. You can move on to the following section if you see it.
- Select Settings > Control Center > Customize Controls if you are unable to view it.
- The Screen Recording option may be found by swiping down to the More Controls menu.
- To the left of the text, tap the green “+” icon. The functionality will navigate to the menu above using Included Controls.
- By coming back to this screen and tapping the red “-” symbol, you can remove the screen record button from your Control Center at any time.
- In case you missed it, there are other hidden features on Apple that experts are aware of but you are not.
How to Screen Record with Audio on An iPhone?
Extra tip: You may record your screen and chat at the same time using the iPhone‘s screen recording feature. Before hitting Record, take these extra steps to switch on your microphone.
- Toggle the Record button on and off.
- Select Start Recording after tapping the microphone icon located at the bottom of the pop-up screen. It will start to count down for you.
- To close the Control Center and get off the screen, tap twice.
- From now on, whenever you start recording, the microphone will activate. Pressing and holding the microphone icon on this screen will turn off your microphone if you choose not to use it.
Also Read: What is iLovePDF? Its Cost, Benefits, Reviews & More Info in 2023!
How to Open and Edit Your Screen Recording?

Do you wish to modify and view your latest video? It is located in the Photos app’s Camera Roll on your iPhone. The editing features on your iPhone can then be used to apply filters, cut the beginning or conclusion of the video, and save it as a new clip.
- Tap the video after opening the Camera Roll album in the Photos app.
- In the upper right corner of the screen, select Edit.
- A visual timeline of the video will appear at the bottom of the screen. Press and hold the arrow next to the Play button to move it to the right in order to cut the beginning of the movie. It ought to get yellow. To trim the end, drag the other arrow to the left and press it.
- To view the updated version, click the Play button. Continue modifying the arrows until you’re happy.
- The same buttons that you would use to edit a photo in the Photos app can also be used to change the filters.
- Click Done > Save as New Clip to save the altered video when you’re ready.
